Earlier this year I registered for an online workshop called 21 Secrets, presented by dirtyfootprints@yahoo.com. When I registered, I had no idea how intense my mother’s care would be and how many hours I would spend with her or how little time I’d have to work on art journaling.
This is the first section I joined: Doodling Our Way, taught by Cathy Bluteau. I knew I could take supplies and work on it when Mama was sleeping.
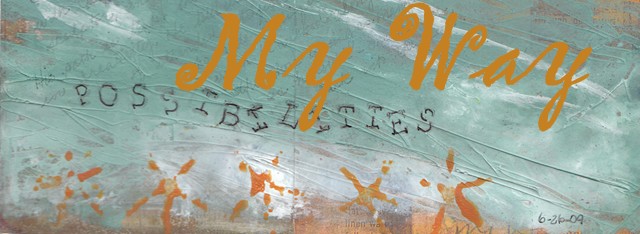
I started with a Strathmore Mixed Media Visual Journal that is 9x12. You can see that I put down scrapbook paper that was cut up into pieces of various size. I should mention that I probably used too much paper and not enough empty space for doodling.
")
In the photo below, you can see the added doodles, some stenciling, text I wrote, and background color. The empty spaces were divided with rulers and design so each space would be smaller. This is another thing I forgot to do while working at my mother’s without Cathy’s informative video, so I don’t have many spaces. For filling in the background spaces, Cathy introduces the Copic marker which I love! You may also notice that I used a white uni-ball pen for highlighting.
I’ve doodled ribbons, bows, flowers and girls’ faces since I was in the early grades of elementary school so this part was really fun for me.
")
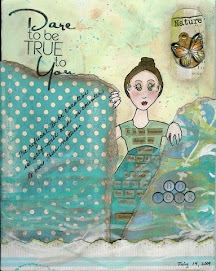
Here is the final part and where I learned the most! Cathy teaches some cool techniques that I haven’t tried before, like drawing “ghost images” (see the flower I added on the right hand page up where I wrote “Say it with flowers” with the copy-cat drawing I did?) and cutting up a copy of Madame Butterfly from my first art journal, then using the strips on new work along side of washi tape.
")
I still had some large areas of little interest, so I doodled a bow and ribbons and then stenciled a piece of lace—yes, that is what that white blobby thing is above the words RIBBONS & LACE. Disappointed over how it turned out, I added more white cross-hatching with my white pen, shading with the brown wax pastel and doing a bit of outlining with my Micron pen.
The most exciting thing for me was learning about and using the water soluble wax pastels. Mine are by Reeves and I purchased them at Michaels. It ages the paper and makes images “pop”! When I scrapbook, I always brush on brown chalk for an antique look, but the wax pastels are so much better. I have to remember, though, that it’s just about impossible to sketch or write anything over the wax.
I’ve been a little sad knowing I won’t complete all 21 workshops before time runs out next month, but right now I’m embracing the classes I will be able to complete!


Looks like you had fun with your page -- I am just working on mine and hope to post in a couple of days. The good news I can tell you is that registrations close 1 October but we have the classes until 1st January so you have lots more time to try other workshops :-)
ReplyDeleteThe pages look great. I love the filled in layered look. In fact, I love layers on almost anything, and yet I don't seem to pull it off in my art or home. Something to work on I guess. I love your art.
ReplyDelete